
I’ve been hesitant to post blog goals this year. I don’t want to be too ambitious, so I am going to keep these fairly simple. Ideally also concrete, so that when I check back on them mid-year, as I usually do, I have some idea how I have done.
1. More Historical Paper Dolls. I want to create ten historical paper doll sets in 2015.
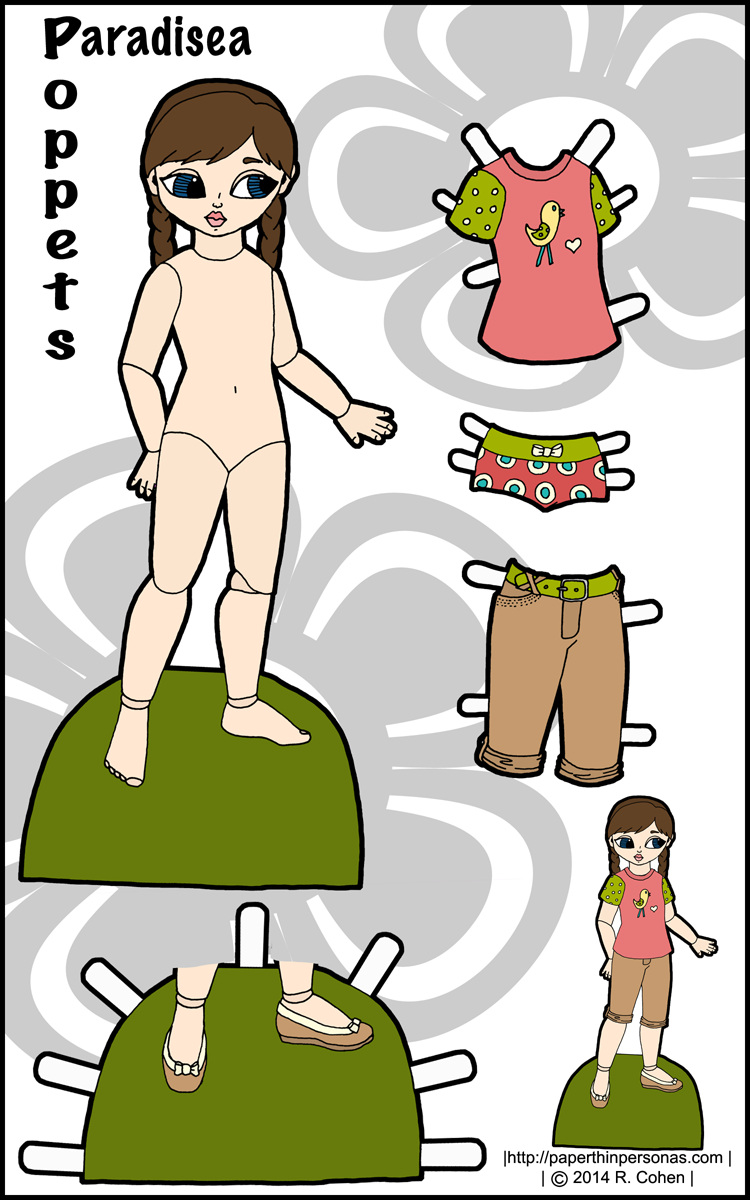
Ideally, I want to work in periods that I have done in the past, but also some periods that will requite lots of research. Right now, I am planning on a Tudor set, a Viking set (they won my poll), a 1300s set, and a new 1920s set for Marisole Monday & Friends. I also want to do some historical guys, so I am thinking a Victorian guy and an 18th century guy (probably Marcus, but maybe Puck… Puck needs a redraw.) I’m also planning on some historical children’s clothing for the Poppets, likely from the 1920s to 1930s, as those are one of my favorite periods for children’s clothes.
2. Focus a little more on Poppets, Ms. Mannequinn and Buxom and Bodacious.
These three series are my most neglected. I have a bunch of unfinished Poppet sets and a bunch of unfinished Ms. Mannequin sets. I want to really buckle down and get some of those sets done. So, my goal is to add at least ten sets to each of these series by the end of 2015.
3. Do more Featured Artists.
Okay, this is totally a goal from last year, but I want to keep it up this year. I think that it is really important to see what people say about paper dolls and there aren’t a lot of us around and I want to try to build some community among us.
4. Actually send something into OPDAG Newsletter.
I am SO BAD at this. I always promise myself I will and then I don’t and then I feel guilty. Anyway, this year I am going to buckle down and even if I don’t like the theme, I am going to make something for the newsletter, darn it! I am! The next two themes are Favorite Mysteries and Chanel. I can do something for those. I know I can… I just have to not procrastinate.
5. Have another Mini-Series set.
Last year, I spent ten weeks posting my Her Ladyship paper doll set. It was so much fun to get away from my series for a while and play. She also got a great response, so I want to do another mini-series this year. I have no idea what the theme will be. I have to think about it.
6. Upgrade the images on the blog to larger format images.
Back when the blog started, I used smaller images (350 pixels wide- to be precise) for my post images. One of the things, I want to do is update these to larger images for the blog, since I think the larger images look nicer and since the internet is no longer quite so slow for most of us. This is going to be a very long, rather painful, slow process.
And those are my goals for 2015! Wish me luck!


 After I wrote my tutorial on
 For my first paper doll artist to feature in 2015, I knew I wanted to feature a newer artist on the scene, so I


