How I color my paper dolls…

The number one question I get is- How do you color your paper dolls?

And my usual answer is- Photoshop and the BPelt filter.

Still, I keep getting the question, so clearly that answer does not satisfy.

So, this post aims to illustrate the steps that go into the average paper dolls coloring and to answer questions I get about the process I use to make paper dolls. In other words, this is how I color paper dolls. Hopefully, you’ll find some of it interesting and useful, or at least fun to look at.

I’ve tried to include everything someone would need to copy the way I do things, but I’ve been doing this for a long time and I might forget to say something important. So, bear with me as I try to show how I do things with lots of screen captures and a sneak peek of Coastal Princess’s colors.

Assumptions:

1. You already have Photoshop (I use CS3, but others will work) and you have installed the BPelt Flatting Plugin for Photoshop, available here for free.

2. You have an image you’ve scanned and cleaned up that you want to color. That image must contain only black and white. If there is ANY other color in the image, this process won’t work.

So, armed with an image saved in black and white, we begin the epic battle with the world of coloring paper dolls… Fortunately, short of paper cuts, we should be okay.

More Here

How to Draw a Shirt for a Paper Doll

shirt-tutorialI think I’m grossly unqualified to be writing this post.

I don’t have any formal art training after high-school. In fact, I think of myself as an avid doodler more than I think of myself as an artist, but I’ve had a few requests for thoughts on drawing clothes for paper dolls, so I am going to try to offer a tiny tutorial on how I draw.

I encourage people to draw their own clothing for the paper dolls. That is how I learned to draw by drawing for my own paper dolls and those my mother drew for me. I think the best way to learn is to do it over and over again. I have some of my old paper dolls from high school… perhaps I shall post them for people to see my early works.

If you want to learn how I draw a t-shirt, the post continues below. I don’t normally do that, but this ended up LONG, mostly due to the photos. Speaking of the photos, I am really bad at them… so, please forgive the remarkably poor iPhone pics.

More Here

The Skintone Pallette

skintones_set1So, several months ago I mentioned that I was collecting skin-tone colors. To the right is the palette I pull nearly all the skin tones I use on the blog. On top of each color block is the alpha-numeric hex code that defines each color. These tones were collected by looking at photographs of actresses and models from a variety of different ethnicity and than simplified from an original image file of over fifty different colors.

After a while, shades of peach and brown start to meld into each other until they all look the same.

Generally, I don’t think in ethnicity when I’m coloring paper dolls. I think in color. How much red is there? How much yellow? How much grey or blue? Is it a warm color or a cool color?

The human species is hundreds of colors, the differences subtle and complicated. Paper dolls on the other hand, especially those who are supposed to share shoes, need to be a smaller collection of colors. I thought someone other than me might find this set useful, so here it is. The other nice thing about this set is this: Each of the colors prints out clearly different from the others on my cheap color printer. That is an advantage which is well worth the limited palette to me.

How to Make a Stand for Any of the Paper Dolls

For this to work, the doll has to be printed on card-stock or been glued to some. It won’t work if the doll is just made of flimsy paper. I used Florence to demonstrate this method, but it will work with any of the paper dolls that have bases.

Sorry about the image quality. I only have an iphone for picture taking and I know it’s not ideal.

making-a-stand-for-the-paper-doll-2

Cut out the paper doll and place her on top of a spare strip of card stock, at least three or five inches wide. Carefully draw a line in a curved line down from the doll to the bottom of the card stock. I recommend doing this in pencil. I did it in bright red pen so it was visible.

making-a-stand-for-the-paper-doll-3

So, after you cut out the stand, it should look like this. Draw a line a quarter inch in to make the tab to glue to the back of the doll. I’ve drawn the red line where I would fold back this tab.

making-a-stand-for-the-paper-doll-4

Fold back the tab and then glue it to the back of the doll. Double sided tape would also work fine, I think, but I always used glue.


making-a-stand-for-the-paper-doll-5making-a-stand-for-the-paper-doll-6
And now the paper doll can stand on her own.

How to Make Magnetic Paper Dolls: Two Methods

How to make Magnetic paper dolls: Two Methods

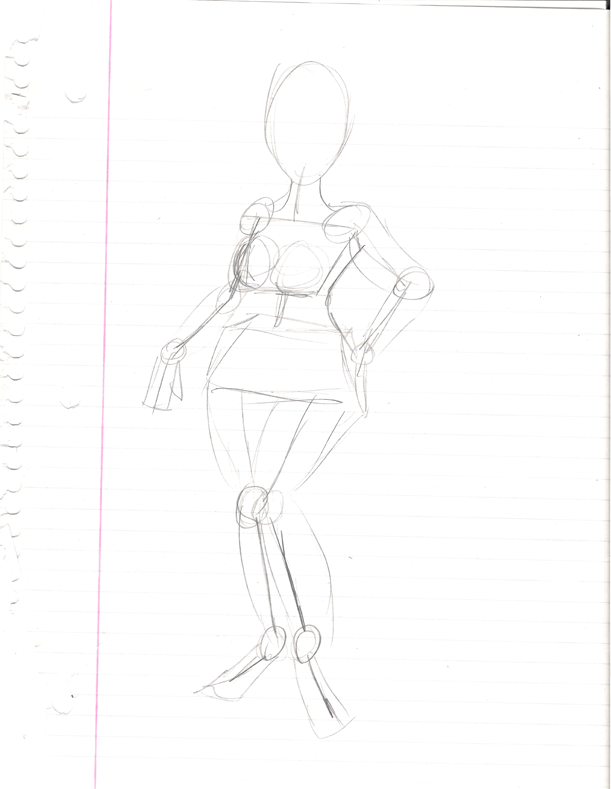
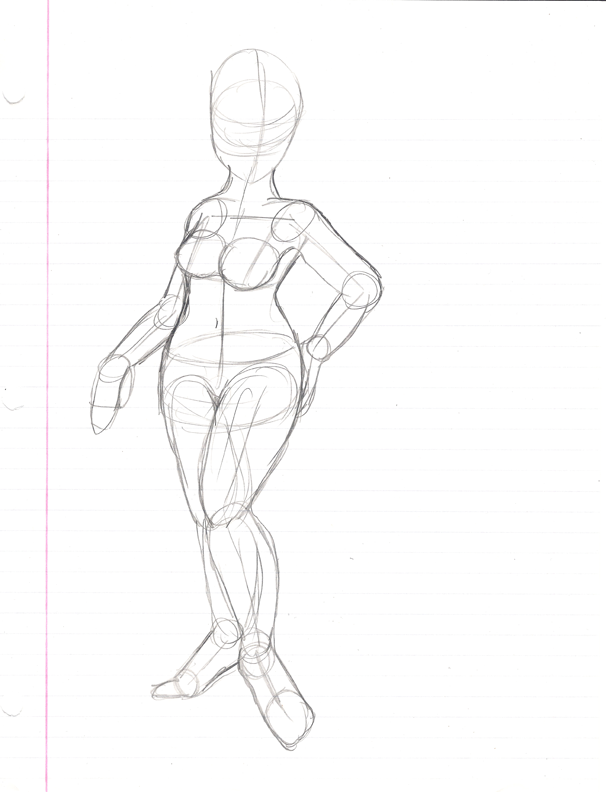
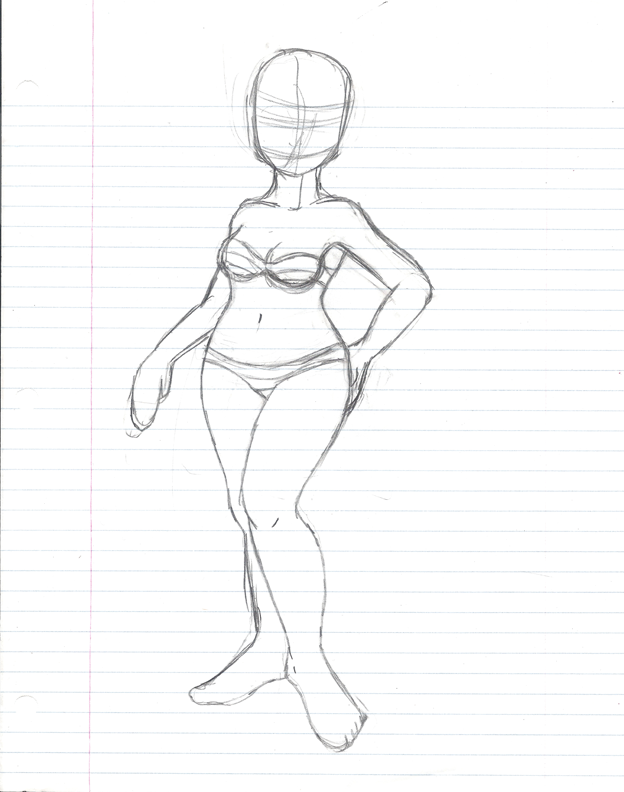
I have become fairly addicted to the idea of magnetic paper dolls, so my first ever tutorial for the blog is about how to make magnetic paper dolls with a set of images I created for the purpose. I used to dismiss magnetic paper dolls as the misbegotten children of paper paper dolls, but I promised a friend I would make her some magnetic paper dolls.


Magnetic Paper Dolls Using Adhesive Magnets
Magnetic Paper Dolls Using Printable Magnetic Sheets

After a fair bit of experimentation, I found there are two ways to make magnetic paper dolls. One uses adhesive backed magnetic sheets available from craft stores (I got mine from Micheals), the other uses printable magnetic sheets (I got mine from Staples).

Personally, I liked the printable magnetic sheets better, but only when I could get my printer to feed them. It was not cooperative during a lot of this process which left me with wasted sheets.

So, if you’re being money conscious (and who isn’t these days?) go with the adhesive magnets; however, I found the adhesive magnets were weaker when layering many pieces of clothing. I guess, in the end, it’s a personal choice.

Magnetic Paper Dolls Using Printable Magnetic Sheets

Supplies:

    Printable Magnetic Sheets

PDF’s of the Paper dolls can be found here

    Metal Tin (to hold the paper dolls)
    Scissors

Directions:

Put the magnetic sheets, one at a time, in your printer. I found it worked better if I put a stack of paper underneath each magnetic sheet to convince my printer it didn’t need more paper. If you have a bypass feeder, use that.

Print the paper dolls onto the magnetic sheets using the “fit” setting in Adobe viewer. The ink might take a few minutes to dry completely, so handle the sheets with care.

Carefully cut the excess from around the paper doll piece. I like to leave slight border of black, except around the tops of shoes where skin is visible, there I cut down so the skin of the foot would meet the skin of the paper doll without there being a line.

Repeat for each piece. I tossed mine in a metal tin as I finished cutting them out so that they wouldn’t get lost in the couch cushions, but a cookie sheet also works well or a ziplock baggie

To play with them, find a magnetic surface. I like magnetic white boards, but filing cabinets and refrigerators both work well.

Top of Page

Magnetic Paper Dolls Using Adhesive Magnets

Supplies:

    Good Quality Paper for Printer

PDF’s of the Paper dolls can be found here

    Adhesive Backed Magnetic Sheets
    Metal Tin (to hold the paper dolls)
    Scissors

Directions:

Print out the paper doll on heavy weight paper (I used non-gloss photo-paper), using whatever settings your printer recommends. In order to match skin tones, it’s best to use the same settings on all the sheets of paper dolls and their clothing.

Begin by rough cutting around the paper doll (or dress, or accessory or whatever), cut close to the piece but not actually as precise as you plan on cutting it.

Cut a piece of magnet the same size as the rough cut paper doll piece leaving the backing in place.

Remove the backing and stick the paper doll piece to the magnet. Work from edge to edge to avoid wrinkles. I also found smoothing with the back of a spoon was helpful.

Carefully cut the excess from around the paper doll piece. I like to leave slight border of black, except around the tops of shoes where skin is visible, there I cut down so the skin of the foot would meet the skin of the paper doll without there being a line.

Repeat for each piece. I tossed mine in a metal tin as I finished cutting them out so that they wouldn’t get lost in the couch cushions, but a cookie sheet also works well or a ziplock baggie

To play with them, find a magnetic surface. I like magnetic white boards, but filing cabinets and refrigerators both work well.

Hint: You might want to unroll your magnetic sheet the night before and lay it flat on a cookie sheet or your refrigerator so it can flatten out. I found this made cutting the pieces a lot simpler.

Top of Page

Curves 2.0 Template Sketches Or What Happens When I Try to Scan Pencil


template1So, the last post about this new paper doll series was about the inspiration. This one is about the template. Every paper doll I draw is traced from a template that I usually draw on lined paper. It’s cheap, has lines for portions and I don’t feel guilty if I go through like seven or twelves sheets of it. I actually ended up with like fifteen versions of this template before I had one I thought was final.

Rather then sharing all fifteen (because the differences become pretty damn minor at some point), I’m only sharing three. I’d say this was because I think these three most well illustrate my process (and they do do a fairly good job of that), but really it’s because the idea of scanning 15 of basically the same thing was enough to strike fear into my heart. Not that I don’t love to share, but there is a limit.

template3

So, on the left is the first doodle with lots of lines and a rough idea of the size and the pose. I knew I wanted to have the legs together, so she could be easily turned into a mermaid if I wanted too. On the right, is the second stage of the process around midway, I’m a little unsure about the feet though… it does make shoes difficult and I love shoes. I always fret a bit about paper doll poses and I have to think about the type of doll and what I plan on drawing. I never know exactly what I plan on drawing for clothing, so that becomes another issue entirely.

template2

Lastly, here’s the final. She’s not perfect yet- there will be a few more changes when I actually trace her onto sketch book paper. I want to give her larger breasts and a slightly fuller hips. I’m also unsure about her left hand placement. More editing is fairly inevitable.

I know I’ll probably put her into some sort of polka-dotted swimsuit and I think she’ll have wigs which means she’ll need a short hairstyle of some sort to start off with. I’ve only ever done one bald paper doll to give wigs and my friend informed me that she looked like a chemotherapy patient. I never did that one again.

Now that I’m getting ready to really start drawing, I need to make decisions about things like- do I want to work in color? Will I have heavy shadows? what size do I want the paper dolls to be? How many dresses per post? Do I make them mix and match or outfit based? Are they going to be a new doll every post or will I have a set of dolls and just draw new outfits? Is there going to be a theme? Will I step out of the vintage feel for costumes?

Ugh… I hate making decisions. Maybe I’ll have a poll.